Welcome to my third installment on helping your child overcome developmental delays. In this post I am going to list a few basic tools to use when working with your child at home on hand strength which is essential for cutting and writing, buttoning, dressing, etc.
When I first started working with Sophie, I bought a TON of crap from Amazon. I just googled and searched and got some ideas and then I bought stuff. Some of it worked, some of it didn’t. So, I’ll tell you what worked for us in the hopes that if you need to work with your child, you’ll waste less money than I did. Note: anything I am linking to is not an affiliate link. I’m too lazy for that. Here goes!
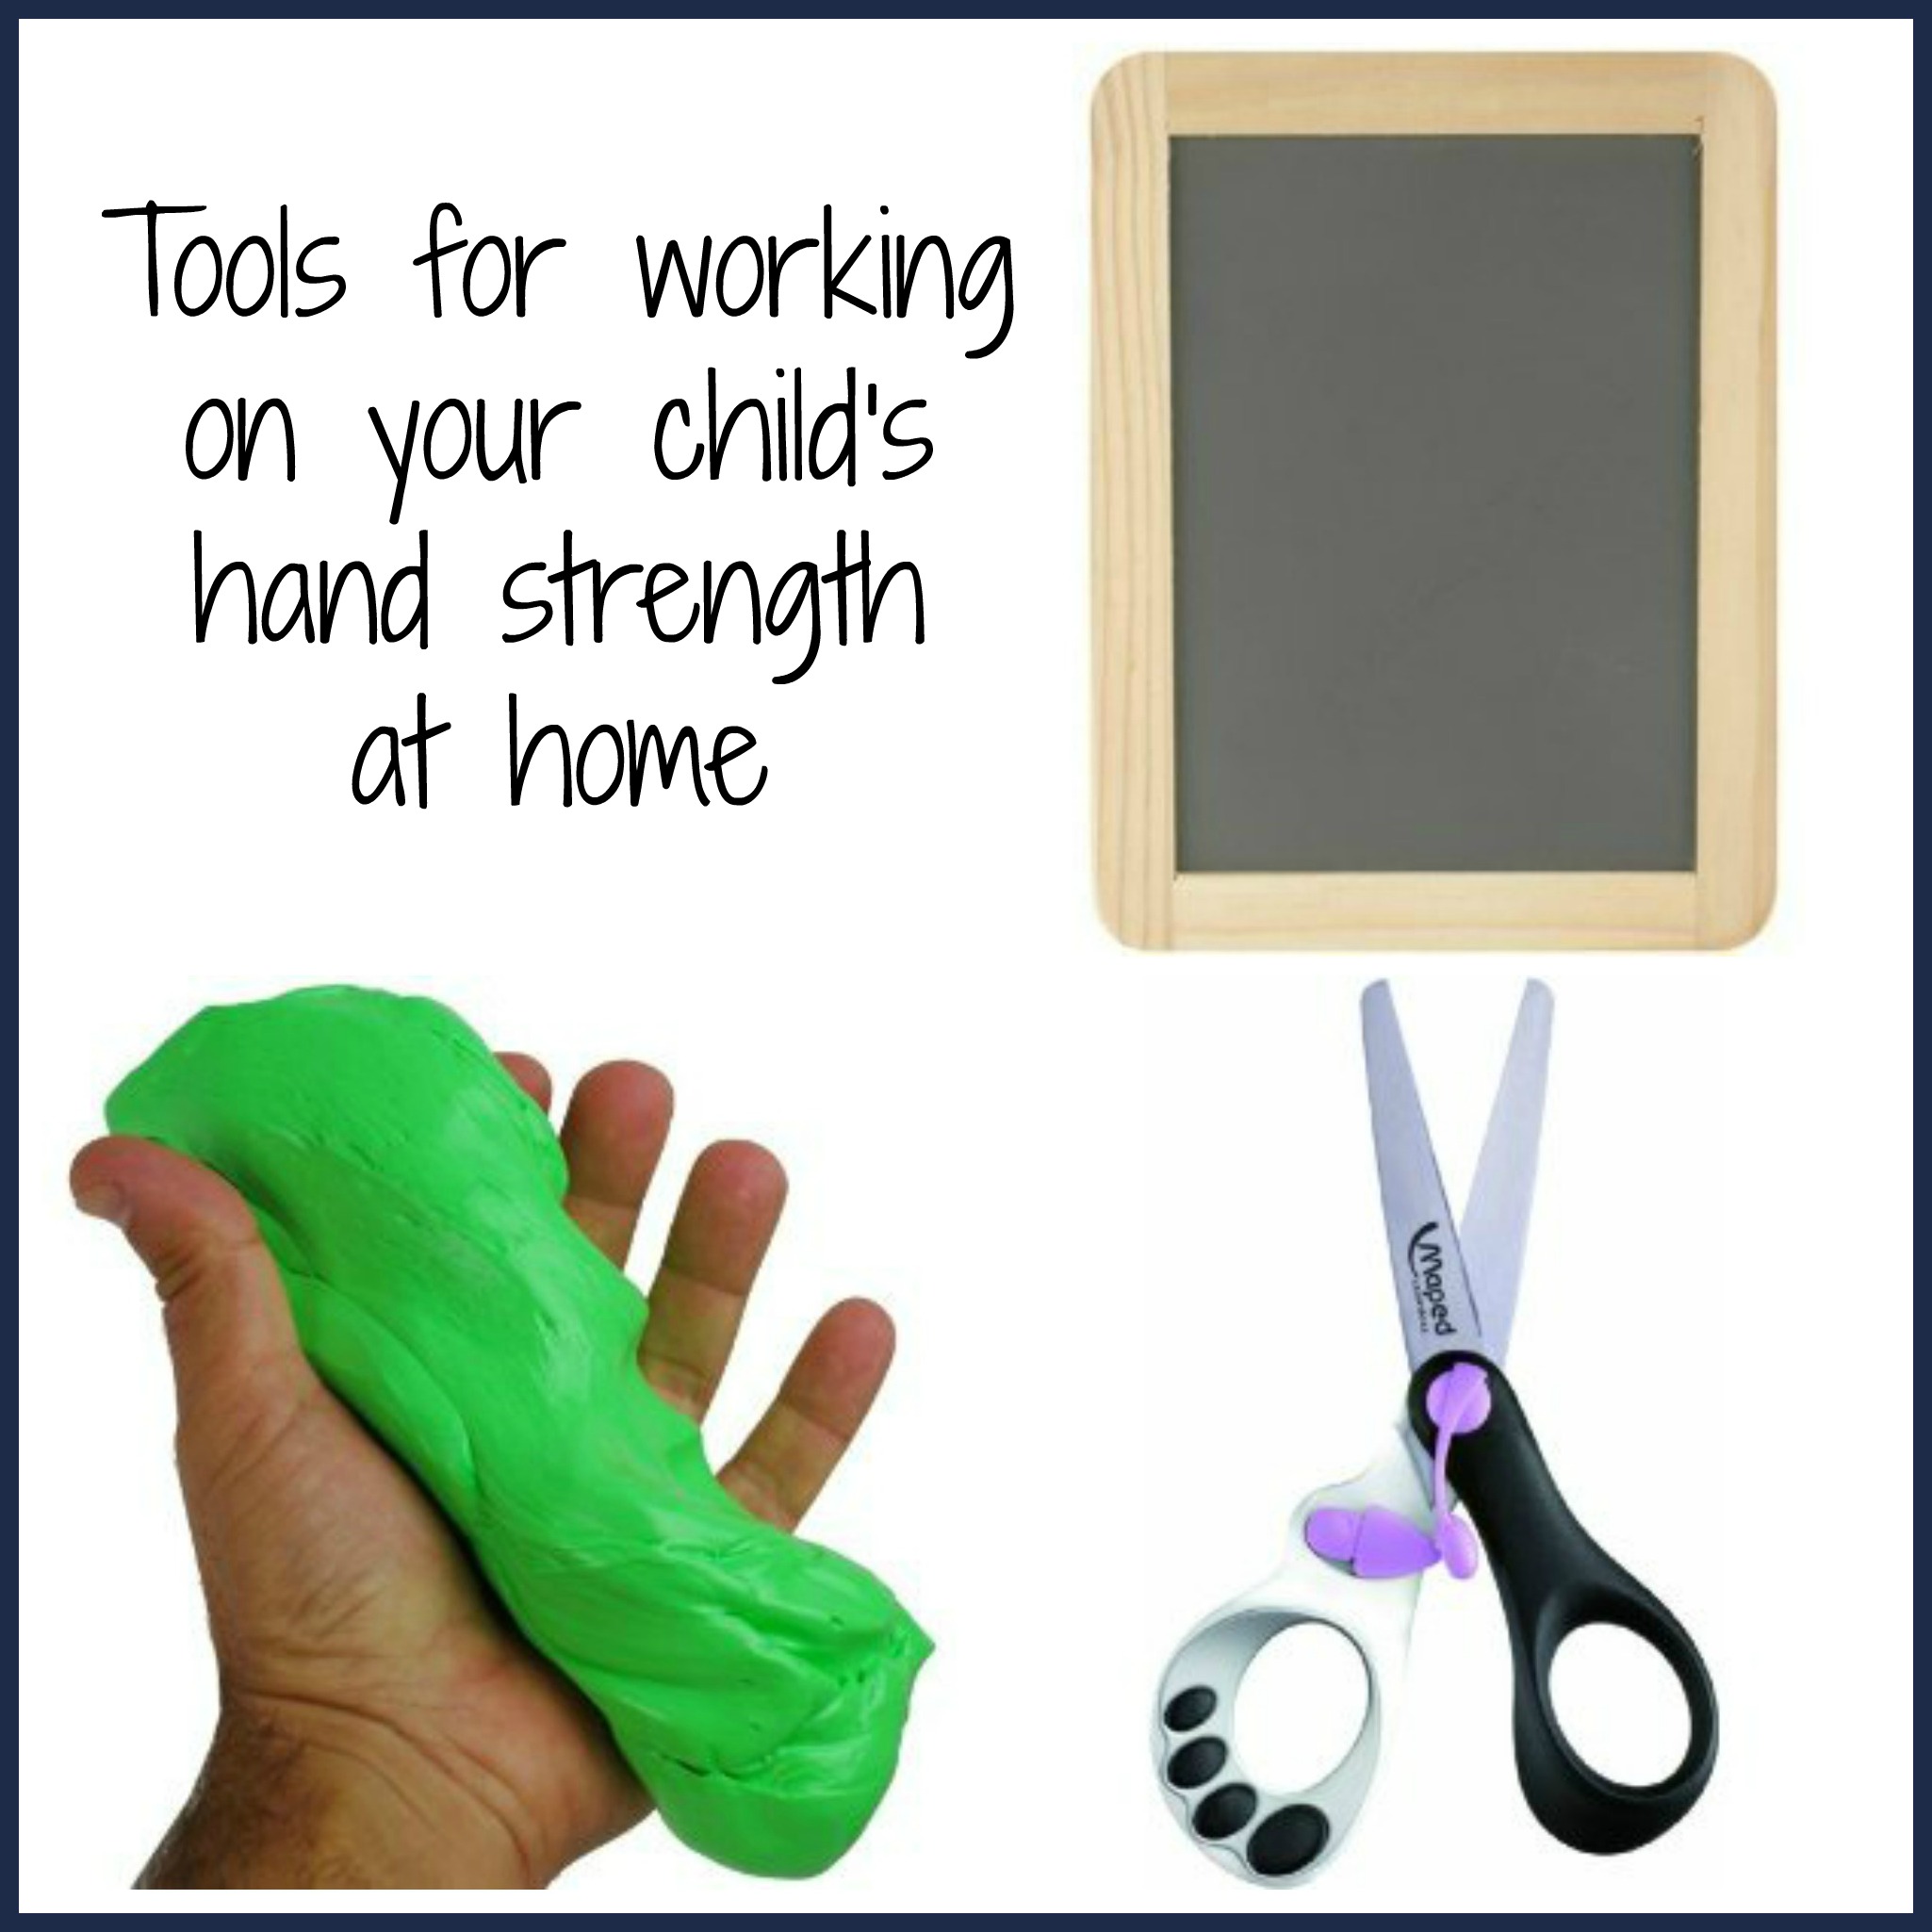
1)Maped Koopy spring scissors $3.99.

These are awesome scissors that are spring-loaded to help your little one figure out how to cut. When they have the hang of it and their hands are strong enough, you can move the lever so that the become REGULAR scissors. This is one of the best purchases I ever made. I had gone through two other pairs of scissors before that just weren’t working for us. These would also be a great pair to start your child with if you are just plain old teaching them to cut, delayed or not.
2) Play-Doh – could it be any easier? Great for hand strength! Buy a set with tools like scissors, a rolling pin, anything they have to smash down & squeeze. To get Sophie really interested, we bought the Cake Making set and a “burgers & hot dogs” set. They were both great sets for hand strength.
3) A small slate-sized chalkboard and broken chalk:
 Using smaller, broken chalk pieces helps with hand strength, as does the pressure of the chalk against the board. You can also dip the chalk in water and use it on black construction paper for a cool effect!
4) Therapy Putty – about $10
This is like Play-Doh if it took steroids and spent three hours at the gym each day! It is one of the first tools that Sophie’s OT recommended to me. Have your child pull it, stretch it, push it, smash it – whatever they will do with it. When they get bored with that, you can hide pennies or buttons in it and have them dig them out, or have them cut pea-sized chunks off of it. Another great activity is to roll it out in the shape of a hot dog and have them pinch along the sides. To keep Sophie interested, we would roll dice and then have to pinch or cut the number of times we got on the dice.
As I said in my last post, it is essential to give your child a good work space where they can focus when you are using these tools.
Those are just a few basic tools to get you started! I’ll have more advanced activities in a future post. Questions? Please leave them in the comments!
![]()
As long as there is no running with scissors, Mrs. Duggar approves!
UP
Thank you for posting! My son will be 3 in a few weeks and I will definately get these items to help him:)
I am getting that putty. Great tips.