Games for Preschoolers with Speech Delay

board games collage

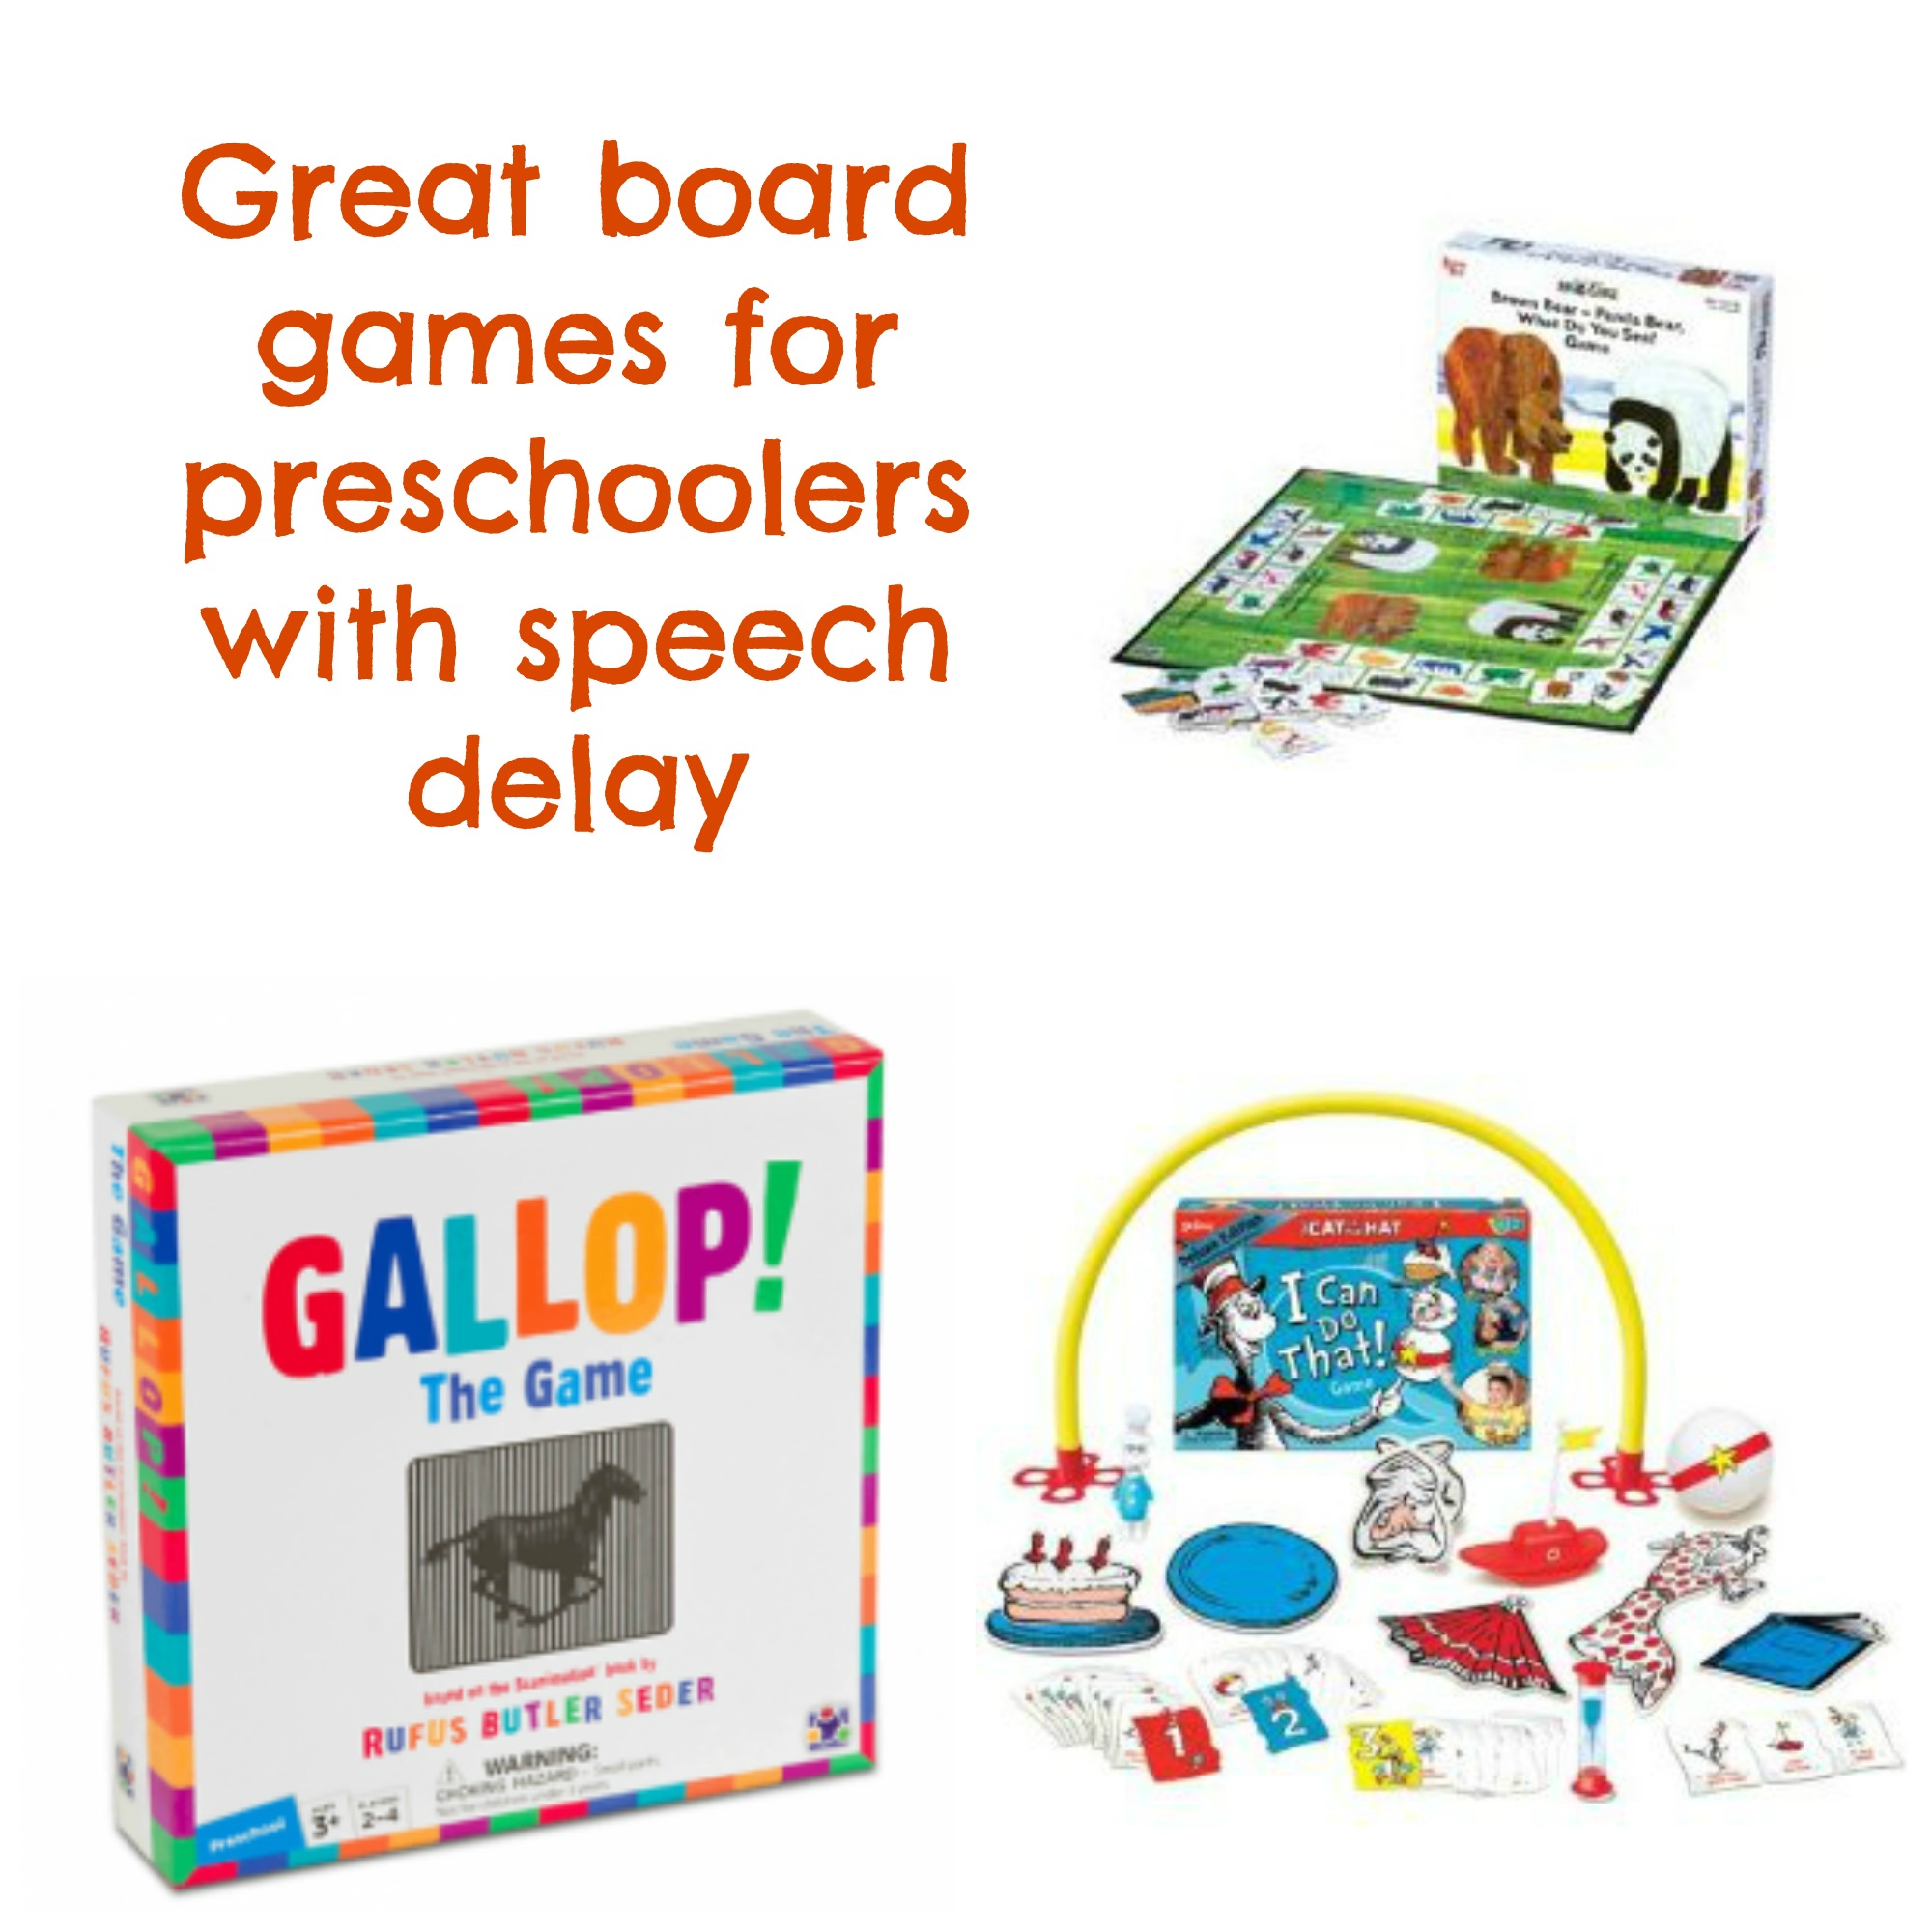
Last November, I bought Sophie her first board game, in the hopes of helping her with her speech goals. Her speech language pathologist played games with her in therapy, and I found one at Target that was based on a book she enjoyed, and that was really easy to learn and play.  With one play, Sophie was HOOKED. She became a board-game-a-holic, and learned lots of concepts like turn taking, sequencing, winning and losing.  That first board game was “Brown-Bear Panda-Bear, what do you see?” by University Games, based on the books by Eric Carle.

It’s a great first game for any preschooler, but especially a speech delayed one. Here are some more great games for 3-4 year olds with speech issues (they are also great for “typically developing” kids!)

Gallop by Discovery Bay Games

This is also based on a popular kids book.  It’s really easy to play, it includes the book, and incorporates colors, numbers, and animals.  It is very, very simple and basic, and would make a great first board game for any preschooler. Also, it can be played very quickly, so it’s a great one to learn on, the child won’t have time to get tired of it or distracted from it!  Plus, the Scanimation book attached to the game is really cool and fun to look at.

The Cat in the Hat I can do that! by the Wonder Forge

My kids and I ADORE this game. It is just really fun to play! It allows your child to get physical while learning turn-taking and learning the important concept of following multi-step directions. It’s just a blast!

Curious George Discovery Beach Game by the Wonder Forge

This was the 2nd game Sophie became addicted to.  We played it over and over and over and over while she was on Christmas break right after I had Jonah last year.  It is a GREAT game for vocabulary, colors, sorting, turn taking, and memory.  It is really fun for kids and adults enjoy it too.  I love all the Wonder Forge “I can do that!” games because like the name says, kids can really successfully “do” what is needed to play and win the game.

Those are just a few games that have wonderful application when it comes to helping your speech-delayed child.  Those are “starter” games, I’ll have another list or two for kids who are further along in the speech therapy process in a future post.

Got a kid with developmental delays? You can see my series on working at home with your child here.

What games do you like to play with your kids??

Post to Twitter

Tools for working on your child’s hand strength

hand strength collage2

Welcome to my third installment on helping your child overcome developmental delays. In this post I am going to list a few basic tools to use when working with your child at home on hand strength which is essential for cutting and writing, buttoning, dressing, etc.

When I first started working with Sophie, I bought a TON of crap from Amazon.  I just googled and searched and got some ideas and then I bought stuff.  Some of it worked, some of it didn’t.  So, I’ll tell you what worked for us in the hopes that if you need to work with your child, you’ll waste less money than I did.  Note: anything I am linking to is not an affiliate link. I’m too lazy for that.  Here goes!

1)Maped Koopy spring scissors $3.99.

These are awesome scissors that are spring-loaded to help your little one figure out how to cut.  When they have the hang of it and their hands are strong enough, you can move the lever so that the become REGULAR scissors.  This is one of the best purchases I ever made.  I had gone through two other pairs of scissors before that just weren’t working for us.  These would also be a great pair to start your child with if you are just plain old teaching them to cut, delayed or not.

2) Play-Doh – could it be any easier? Great for hand strength! Buy a set with tools like scissors, a rolling pin, anything they have to smash down & squeeze.  To get Sophie really interested, we bought the Cake Making set and a “burgers & hot dogs” set.  They were both great sets for hand strength.

3) A small slate-sized chalkboard and broken chalk:

Using smaller, broken chalk pieces helps with hand strength, as does the pressure of the chalk against the board.  You can also dip the chalk in water and use it on black construction paper for a cool effect!

4) Therapy Putty – about $10

This is like Play-Doh if it took steroids and spent three hours at the gym each day!  It is one of the first tools that Sophie’s OT recommended to me.  Have your child pull it, stretch it, push it, smash it – whatever they will do with it.  When they get bored with that, you can hide pennies or buttons in it and have them dig them out, or have them cut pea-sized chunks off of it.  Another great activity is to roll it out in the shape of a hot dog and have them pinch along the sides.  To keep Sophie interested, we would roll dice and then have to pinch or cut the number of times we got on the dice.

As I said in my last post, it is essential to give your child a good work space where they can focus when you are using these tools.

Those are just a few basic tools to get you started!  I’ll have more advanced activities in a future post. Questions? Please leave them in the comments!

Post to Twitter

Dealing with Delays – Buckle Up…

…it’s going to be a bumpy ride.  And also, you need that kid to SIT STILL if you’re going to work on those delays! Or, at least, sit in one place. In this, my first post on strategies I’ve used to help my daughter overcome her developmental delays, here is my first and best tip for working on goals with your child:  Strap that kid into a booster seat so that he or she can’t escape when you’re trying to work!

Here are some beginning tips for making at-home therapy time work for you and your child:

1) Work at an appropriate space. Strap your child into a booster seat so they can be still and focus.  Put the seat at a table that is an appropriate height for them to use pencil, paper, play-doh, scissors, or whatever tools you are working with.

2) Set expectations and be consistent. Sophie’s speech therapist had used a schedule board with her that was visual pictures to tell her what they would do each session.  I copied that idea at home, but with a marker board since I didn’t have a picture board. From the very first time Sophie and I worked together, I have put four items on the board, and the last one is always “Sophie’s choice”.  Every time we go to sit down at the table, she knows we will do four tasks.  I have them listed for her, and the consistency is part of what brings her cheerfully to the table every time we sit down to work.

3) Don’t make this stuff up! (Well, at least not at first!) When I started working with Sophie, I had no idea what I was doing.  I am neither speech language pathologist, occupational therapist, or teacher – so I had to ask for ideas on what to work on. She was already in speech so her SLP gave me some tasks, but she hadn’t yet had an OT evaluation yet, so I had to get OT ideas online – but to start I just did the basics that her preschool teachers told me she wasn’t doing at school – cutting and coloring.  Bobby bought a play-doh set on his way home from work, to work on her hand strength.  Those basics gave me some fundamentals to work on while I researched other activities we needed to do.

After a couple of months, I got to the point with speech where I COULD make up my own stuff!  (But it’s often based on what I see her working on with her SLP.) And you might, too.  With OT, I still pretty much have to ask her therapists or search online every time I need a new idea.

4) Make it as fun as possible. I know that may seem obvious, but until your child learns how to be a “therapy kid,” and gets used to being buckled up to buckle down, you need to make the therapy time play time as well.  We started out with the play-doh and the reading books, and as soon as Sophie was ready, board games!  For coloring, I let her pick which coloring sheet she wanted.  If she got frustrated or upset, we moved on.  After awhile I could push harder when she hit a snag, but at first keep it as light and fun as you can while still getting something accomplished.

Those four fundamentals will get you started working at home with your child.  Next week I’ll discuss some basic tools and activities to use when you are just starting out.  In the meantime, if you have any questions about therapy at home in general, developmental delays, or my experience in particular, please leave them in the comments and I will answer you either via comment, email, or in a post if it’s appropriate.

Post to Twitter